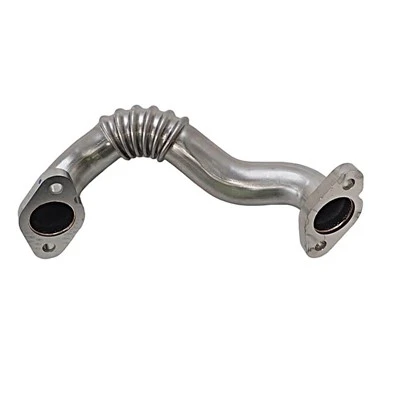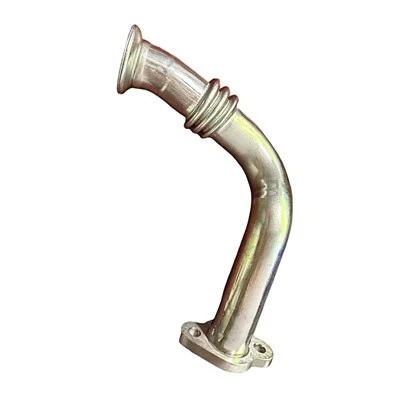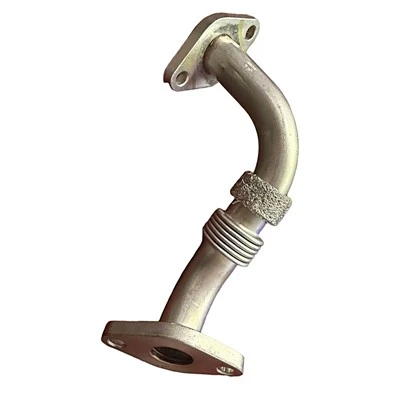


The steps to disassemble and install the engine crankcase ventilation pipe are as follows:
First, you need to open the crankcase cover and locate the ventilation pipe.
Next, use tools such as a wrench or screwdriver to remove the screws holding the vent pipe in place.
Then, clean the debris and dirt around the ventilation ducts to make sure the ducts are clear.
Then, reinstall the vent pipe and make sure it is securely installed and not loose.
Finally, test the engine operating status to confirm that the ventilation pipe is working properly.
Regarding the disassembly and assembly of the engine crankcase ventilation pipe, although the operation is relatively simple, the blockage of the ventilation pipe will have a negative impact on the engine operation. Therefore, regular inspection and cleaning of the crankcase vent pipe is crucial. If the ventilation pipe is blocked, it should be cleaned or replaced in time to avoid problems such as increased oil consumption, shortened replacement cycles, increased oil temperature, reduced lubrication performance, and increased air leakage, thereby ensuring the power and economy of the engine. At the same time, this also helps reduce piston movement resistance and control fuel consumption. Therefore, regular inspection and maintenance of the engine crankcase ventilation pipe is very important.